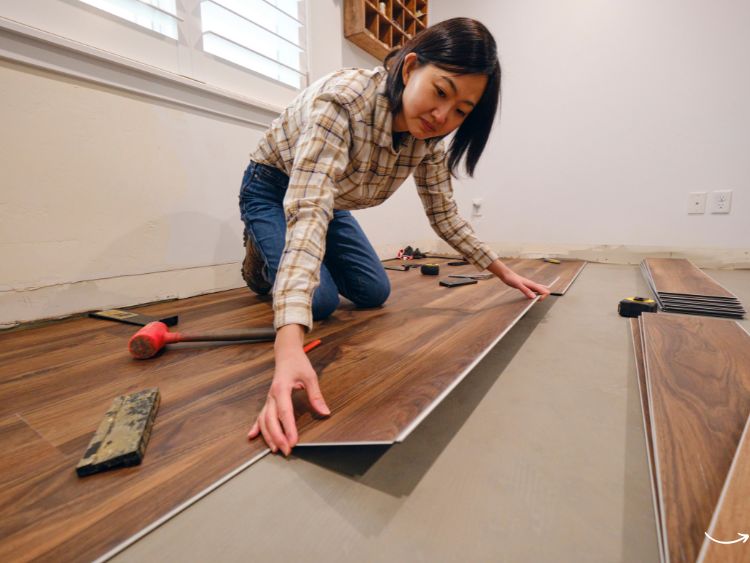
So, you’ve noticed a few soft spots on your camper floor? Or maybe there’s a squeak that just won’t quit? Well, buckle up, because it’s time to dive into the world of camper floor repair. Whether you’re dealing with minor wear and tear or major damage, this guide will walk you through the process step by step. We’ll cover everything from identifying the problem to selecting the right materials and tools, ensuring your camper floor is as good as new.
Identifying the Problem
Before you grab your toolbox, it’s crucial to pinpoint the issue. Camper floors can suffer from various problems, including:
- Water Damage: Leaks from the roof or plumbing can lead to rot and mold.
- Wear and Tear: High traffic areas might develop soft spots over time.
- Structural Issues: The underlying framework may be compromised.
Signs of Floor Damage
Keep an eye out for these telltale signs:
- Soft Spots: Areas that give way underfoot.
- Discoloration: Dark or stained patches indicating water damage.
- Warping: Uneven or buckled sections of the floor.
- Mold or Mildew: Musty odors or visible mold growth.
Gathering Your Tools and Materials
Once you’ve identified the problem, it’s time to gather your supplies. Here’s a list of essentials for your camper floor repair project:
- Safety Gear: Gloves, goggles, and a mask.
- Tools: Screwdriver, hammer, saw, pry bar, utility knife, and tape measure.
- Materials: Plywood, adhesive, screws, sealant, and waterproof membrane.
Choosing the Right Plywood
Not all plywood is created equal. For camper floor repair, opt for marine-grade plywood. It’s designed to withstand moisture, making it ideal for this type of project.
Step-by-Step Camper Floor Repair
Step 1: Remove the Damaged Flooring
First things first, you’ll need to remove the damaged section of the floor. Here’s how:
- Clear the Area: Remove any furniture, appliances, or fixtures in the way.
- Cut Around the Damage: Use a utility knife or saw to cut around the affected area.
- Pry Up the Flooring: Carefully pry up the damaged flooring with a pry bar.
- Clean the Subfloor: Remove any debris and inspect the subfloor for further damage.
Step 2: Inspect and Repair the Subfloor
If the subfloor is damaged, you’ll need to address it before laying new flooring. Follow these steps:
- Check for Rot: Use a screwdriver to test the integrity of the subfloor.
- Replace Rotten Sections: Cut out and replace any rotten sections with new plywood.
- Reinforce the Subfloor: Add extra support if necessary, using additional plywood or joists.
Step 3: Install the New Flooring
Now it’s time to install the new flooring:
- Measure and Cut: Measure the replacement plywood and cut it to size.
- Apply Adhesive: Spread a layer of adhesive on the subfloor.
- Lay the Plywood: Place the new plywood over the adhesive and press firmly.
- Secure with Screws: Use screws to secure the plywood in place, ensuring it’s flush with the surrounding floor.
Step 4: Seal and Finish
To ensure your repair lasts, it’s important to seal and finish the floor properly:
- Apply Sealant: Use a waterproof sealant to protect the seams and edges.
- Install a Waterproof Membrane: For added protection, consider installing a waterproof membrane over the repaired area.
- Lay New Flooring: Once the sealant is dry, install your chosen flooring material.
FAQs
How do I prevent future floor damage in my camper?
Regular maintenance is key. Check for leaks frequently, ensure proper ventilation, and avoid overloading the floor with heavy items.
Can I use regular plywood for camper floor repair?
It’s not recommended. Marine-grade plywood is designed to withstand moisture, making it a better choice for camper floors.
What if I find mold under the floor?
If you discover mold, you’ll need to address it immediately. Remove any affected materials and clean the area thoroughly with a mold-killing solution before proceeding with repairs.
How long does camper floor repair take?
The time required depends on the extent of the damage and your DIY skills. Simple repairs can take a few hours, while more extensive work might require a couple of days.
Do I need professional help for camper floor repair?
While many repairs can be done yourself, severe damage or structural issues may require professional assistance to ensure safety and durability.
Summary
Camper floor repair might seem daunting, but with the right tools and knowledge, you can tackle it like a pro. Start by identifying the problem and gathering your supplies. Follow our step-by-step guide to remove damaged flooring, repair the subfloor, and install new flooring. By taking preventative measures and performing regular maintenance, you can keep your camper floor in top shape for years to come.
Authoritative Links
- https://www.thervgeeks.com/rv-maintenance/replace-rotten-rv-floor/
- https://www.doityourselfrv.com/rv-floor-repair/
- https://www.rvandplaya.com/how-to-repair-rotten-wood-floor-in-an-rv/
- https://camperreport.com/rv-floor-repair-cost-and-how-to-guide/
By following this comprehensive guide, you’ll be well-equipped to handle any camper floor repair challenges that come your way. So, roll up your sleeves, grab your tools, and let’s get to work!

